Self-Hosting
We provide a fully managed cloud instance of the Touca server at https://app.touca.io. Since Touca is open-source, you have the option to install it locally or deploy it to your own cloud infrastructure. We've made the process straightforward and self-serve. Join us on Discord or send us an email if you need help or have any questions.
Most of our paid plans include dedicated support and professional services for deploying and upgrading self-hosted instances of Touca.
We support two different self-hosted deployments of Touca:
- You can host Touca as a set of Docker containers on a single machine. This setup uses Docker Compose and is most suitable for individuals and small engineering teams.
- You can deploy Touca to your Kubernetes cluster using our Helm chart. This setup is suitable for engineering teams who are used to hosting third-party tools on Kubernetes.
Both deployments use MinIO, MongoDB, and Redis as service dependencies. If you plan on using Touca at scale, we encourage you to upgrade to our paid deployment setups that use DocumentDB, ElastiCache and S3 instead.
Using Docker Compose
Installing
You can install Touca server locally using either the Touca CLI (recommended) or
our install.sh script, or using docker compose directly.
- Using Touca CLI
- Using Bash Script
- Using Docker Compose
The recommended way to manage Touca server is through our CLI.
- PIP
- Homebrew
pip install touca
brew install touca
The touca server subcommand helps you install, upgrade, and
uninstall the Touca server, as well as to check its status and logs.
touca server install
This command uses docker compose to install the server into ~/.touca/server
and run it. Once the install is over, navigate to Touca server and complete the
install wizard.


/bin/bash -c "$(curl -fsSL https://touca.io/install.sh)"
This command uses docker compose to install the server into ~/.touca/server
and run it. Once the install is over, navigate to Touca server and complete the
install wizard.
If you prefer using docker compose directly, clone the GitHub repository for
Touca, create local directories for the server dependencies and use the
following commands to install the server in the current working directory.
git clone git@github.com:trytouca/trytouca.git
cd trytouca
mkdir -p data/{minio,mongo,redis}
export UID_GID="$(id -u):$(id -g)"
docker compose -f ops/docker-compose.test.yml --project-directory . -p touca up -d
Uninstalling
- Using Touca CLI
- Using Bash Script
- Using Docker Compose
To uninstall the server, you can use the following command to stop the running containers and remove all server data from the filesystem.
touca server uninstall
To uninstall the server, you can use the following command to stop the running containers and remove all server data from the filesystem.
/bin/bash -c "$(curl -fsSL https://touca.io/install.sh)" -- --uninstall
Note the extra -- before --uninstall.
To uninstall the server, you can use the following command to stop the running containers.
docker compose -f ops/docker-compose.prod.yml --project-directory . -p touca down
Remember to also remove directories for Touca server dependencies such as MinIO, Mongo, and Redis.
If you have any locally stored test results, you can manually remove them by
running rm -r $HOME/.touca/results.
Using Helm
Installing
You can use our Helm chart to deploy Touca to an existing Kubernetes cluster.
git clone git@github.com:trytouca/trytouca.git
cd ops/k8s/helm-chart
helm install <name> .
Uninstalling
You can uninstall Touca the standard way:
helm uninstall <name>
Did we miss out a required step? We'd love to hear about your experience. Share your thoughts with support@touca.io.
Post Install Setup
Once the server is running, navigate to the Touca web interface to complete a one-time post-install setup that helps you create a primary user account.
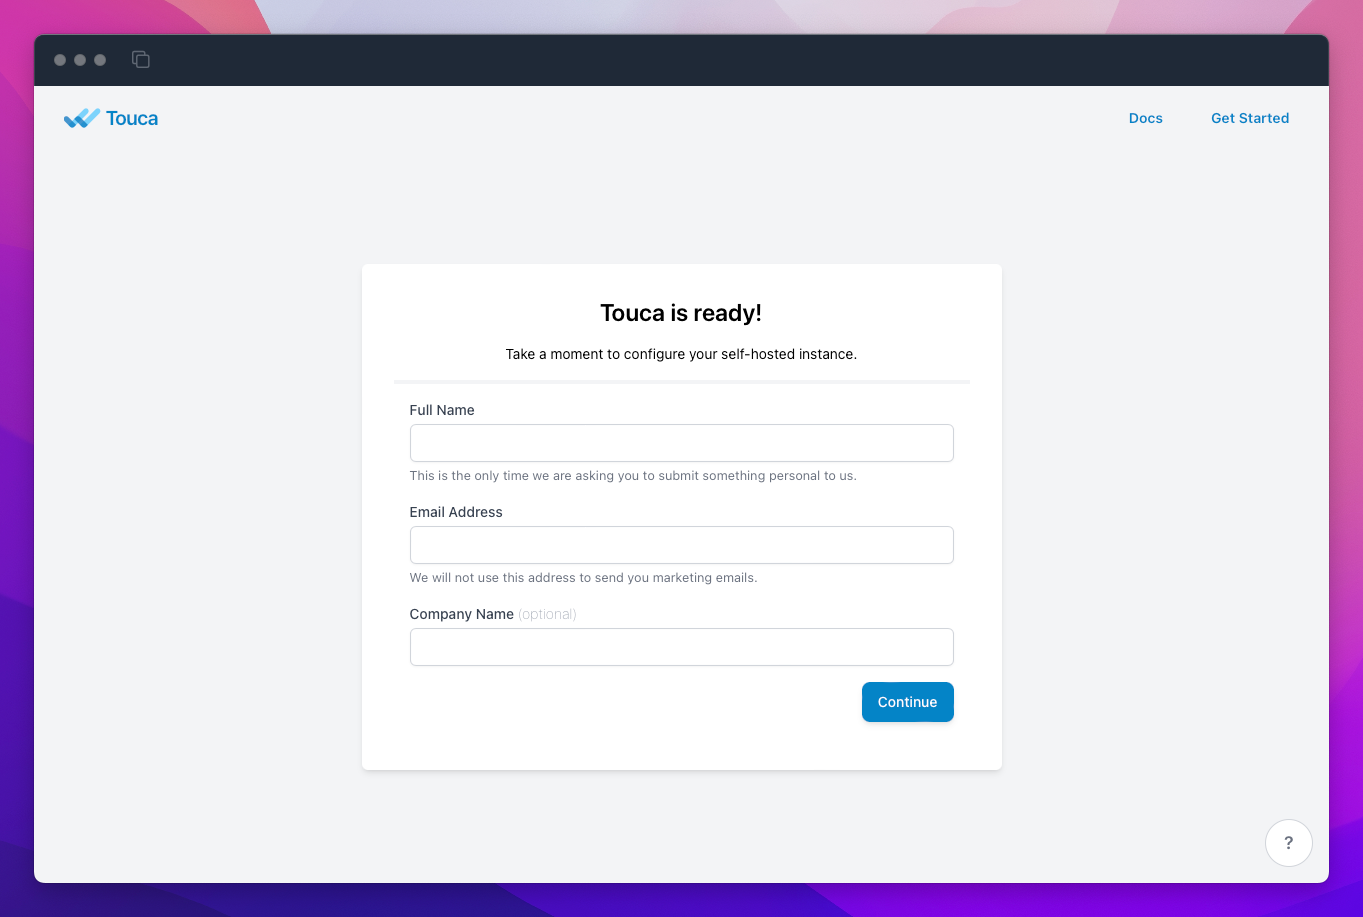
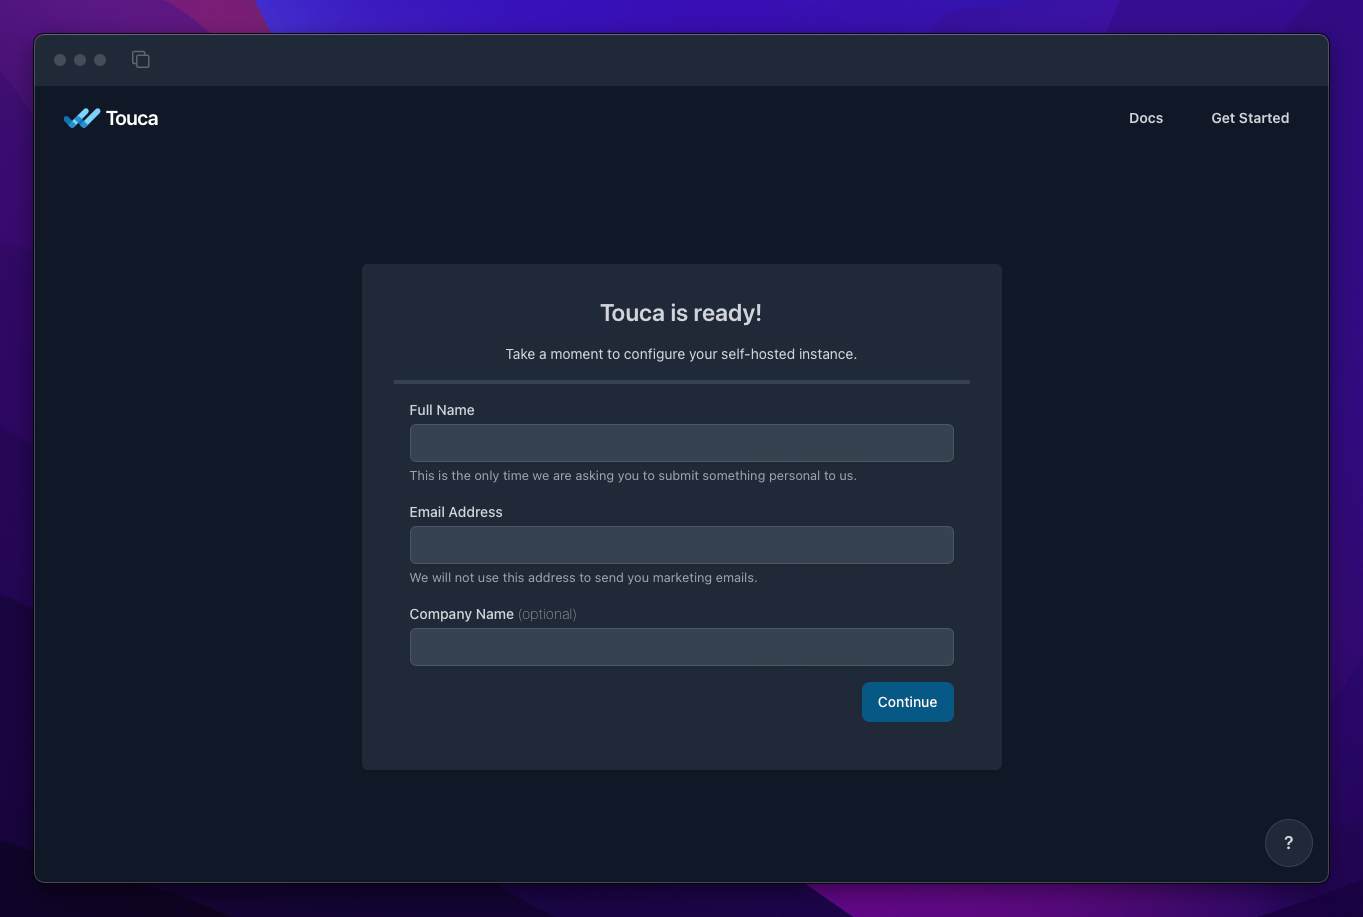
The user account your create during this process has special privileges that let you manage server settings from the settings page and gives you exclusive rights to promote other user accounts to server administrators so they can manage server settings too.
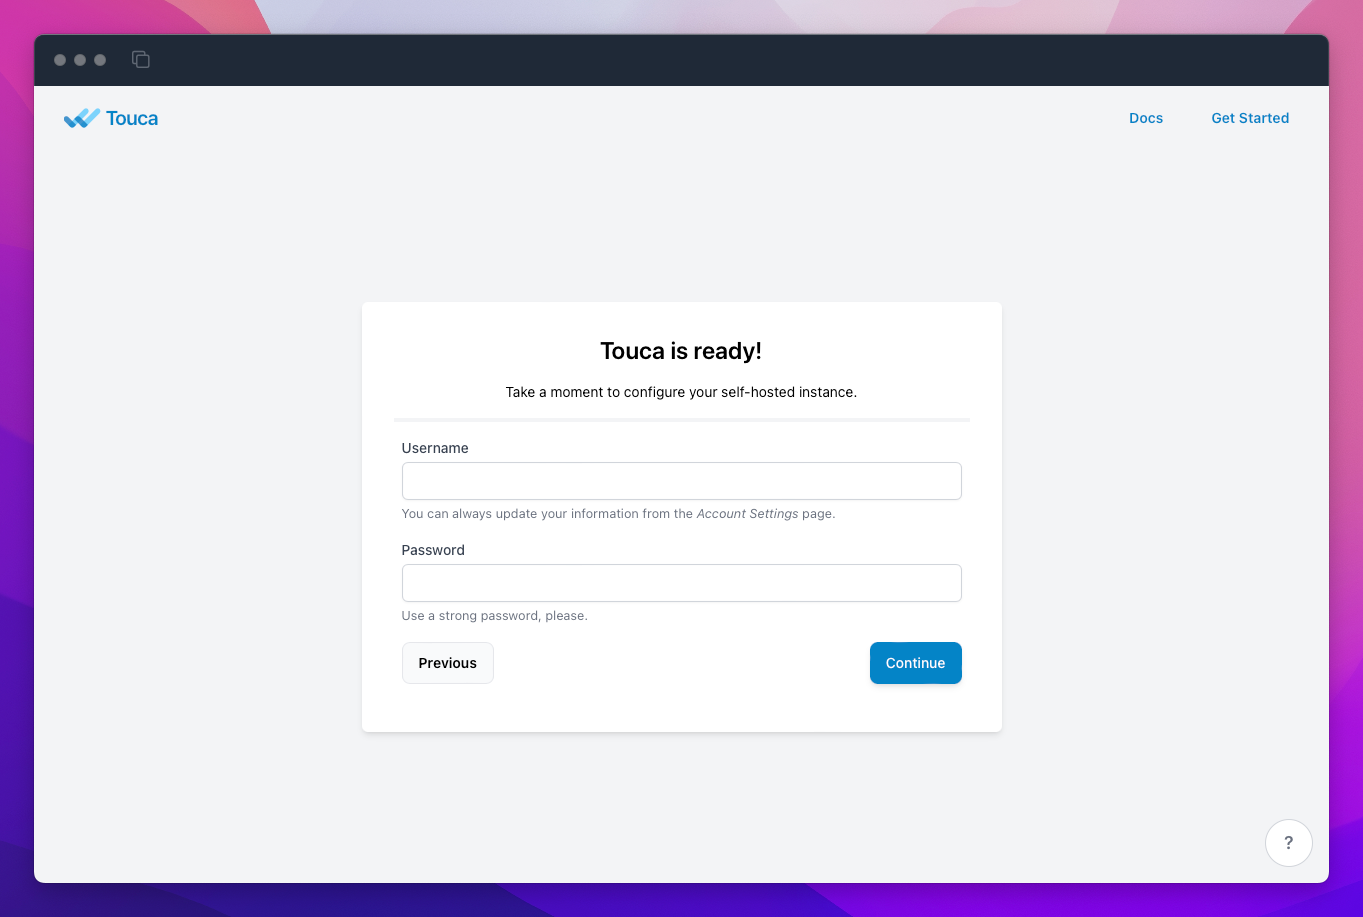
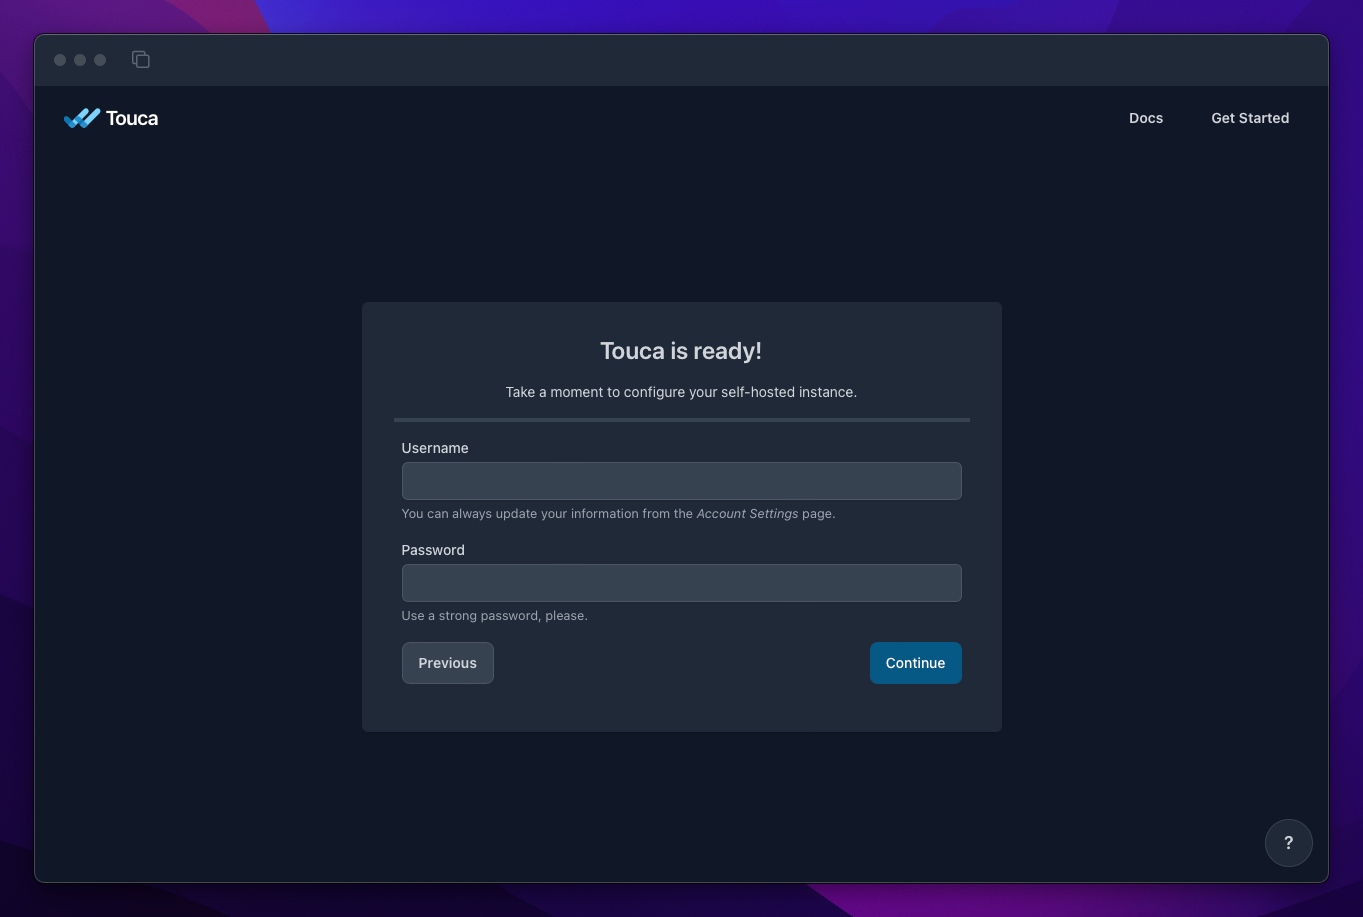
By default, self-hosted instances of Touca collect aggregate usage data and report them to us once every day. See Telemetry Reports to learn more about how this service works, what data we collect, and how you can disable it through the server settings page.
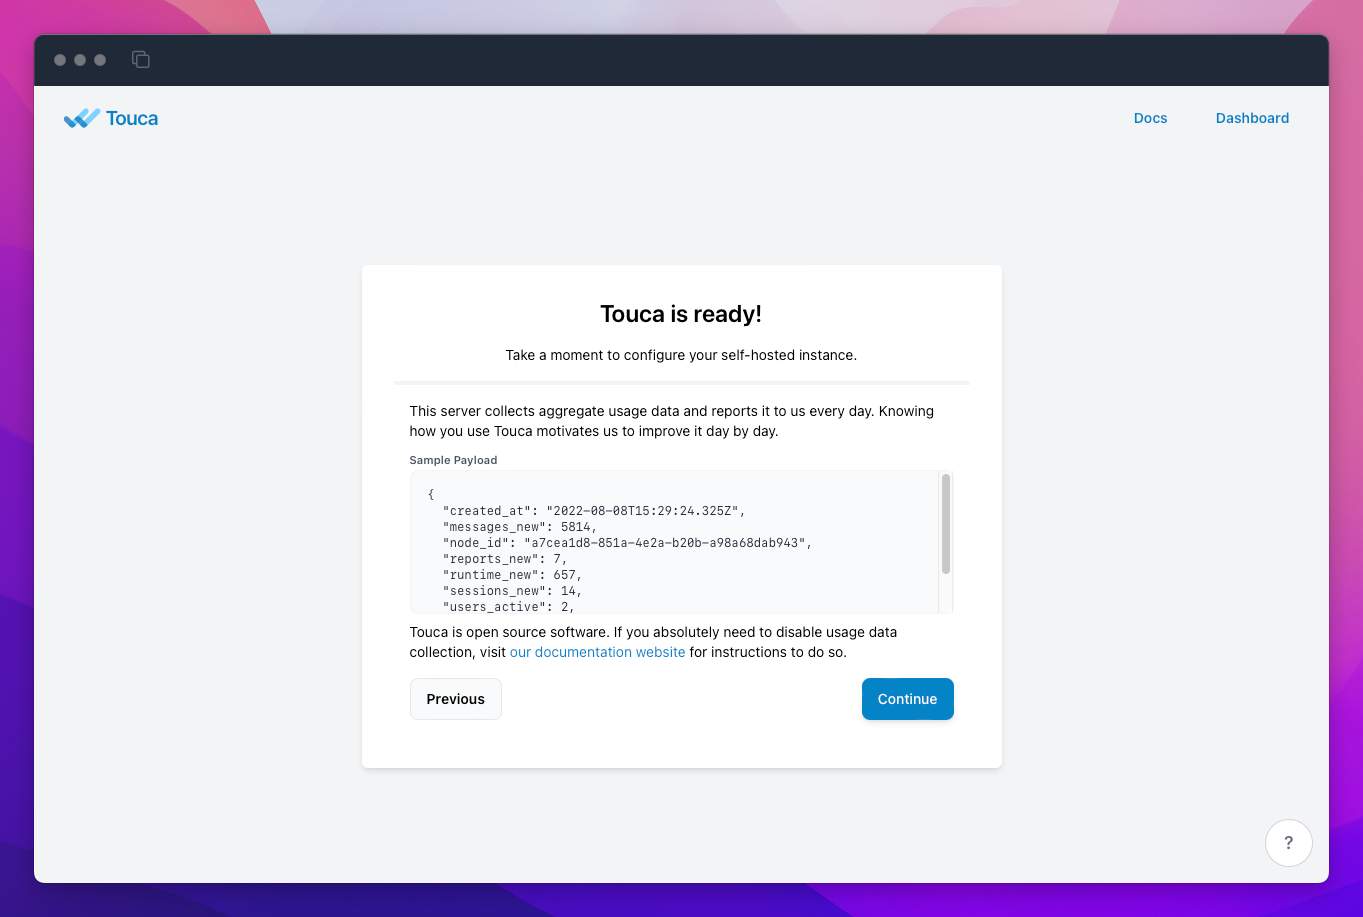
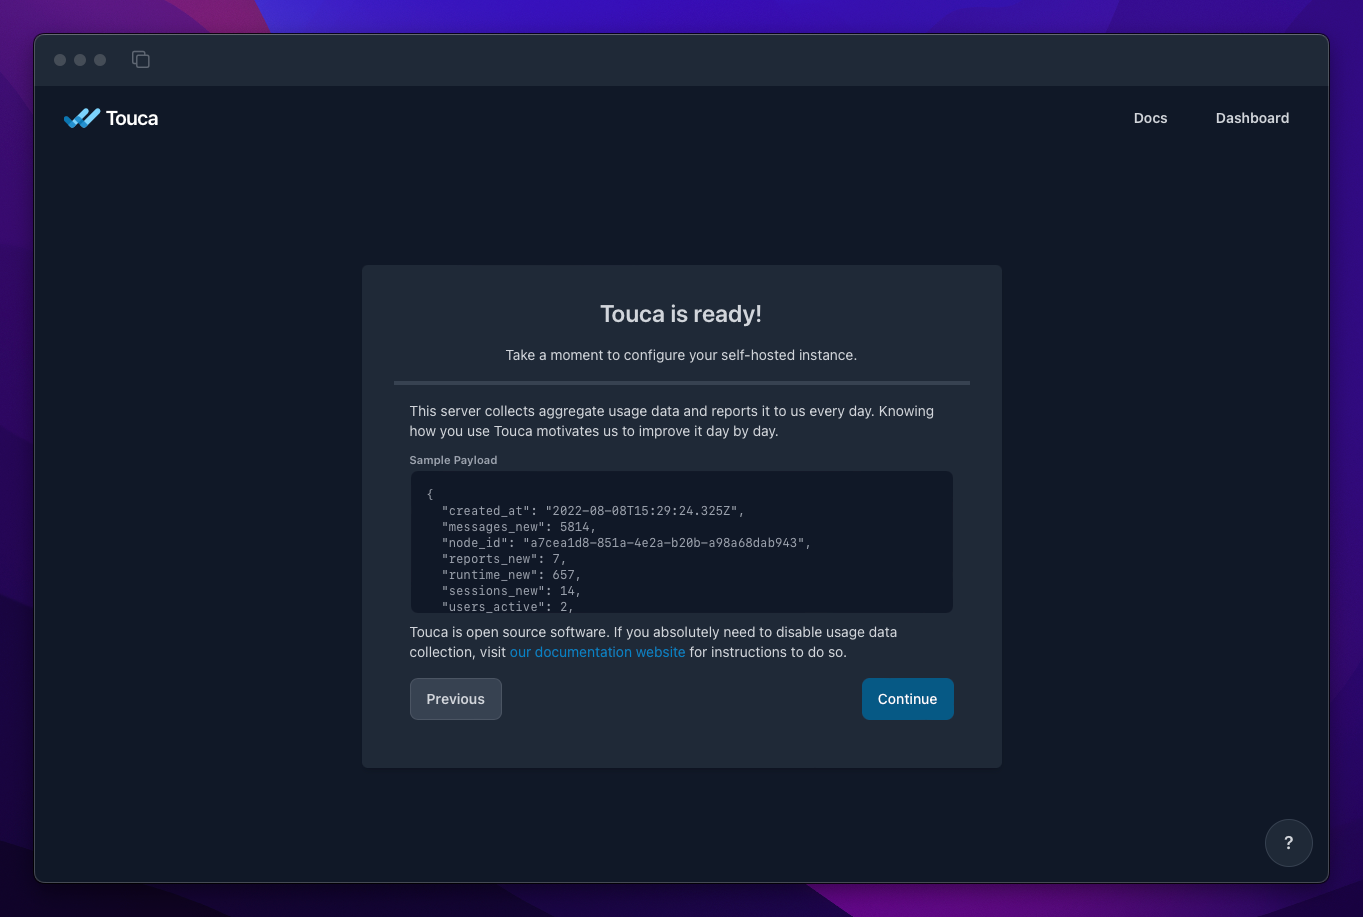
Once the post-install setup is complete, you can login to your self-hosted instance using the primary account you created as part of the setup. While the server setup process is officially complete, we strongly recommend that you configure a mail server for your instance to enable sending email notifications. This optional step is essential for inviting other colleagues to create an account and join your team.